
The Joys of Demo
To help reduce costs and get a better understanding of how the home was constructed, I opted to gut the house with myself and a cadre of great friends. We were able to peel back the layers to see how it was updated over the years, revealing a lot of shoddy craftsmanship and lessons in what not to do when renovating a home. Since the previous owner used the house as a low-cost rental, the maintenance and updates over the years were poorly implemented, to say the least.
My favorite example of this is the living room window. One of the great mysteries of the house is odd shape of the windows; they almost seem like afterthoughts, and the sizing isn’t consistent within the home. These non-standard sizes require custom windows, which the previous owner clearly did not want to pay for. Instead they simply installed one that was too small for the opening and blocked off the top with plywood and spray foam (photo below). In addition to looking cheap, this is not a durable solution since the spray foam will degrade over time from exposure to sunlight and rain.

Instead of ordering a custom replacement window, the previous owner installed one much too small for the opening and blocked off the top with plywood and spray foam (right window in photo).
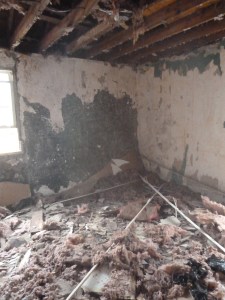
Demo took much longer than expected because of the sheer weight of the waste material. Over the years, the original plaster board ceilings had been covered with a layer of drywall (see photo below). This created a very heavy ceiling assembly – when we demoed the ceiling it was like bombs dropping! We made sure to protect the hardwood floors with tarps, sheets of plywood, and old area rugs.
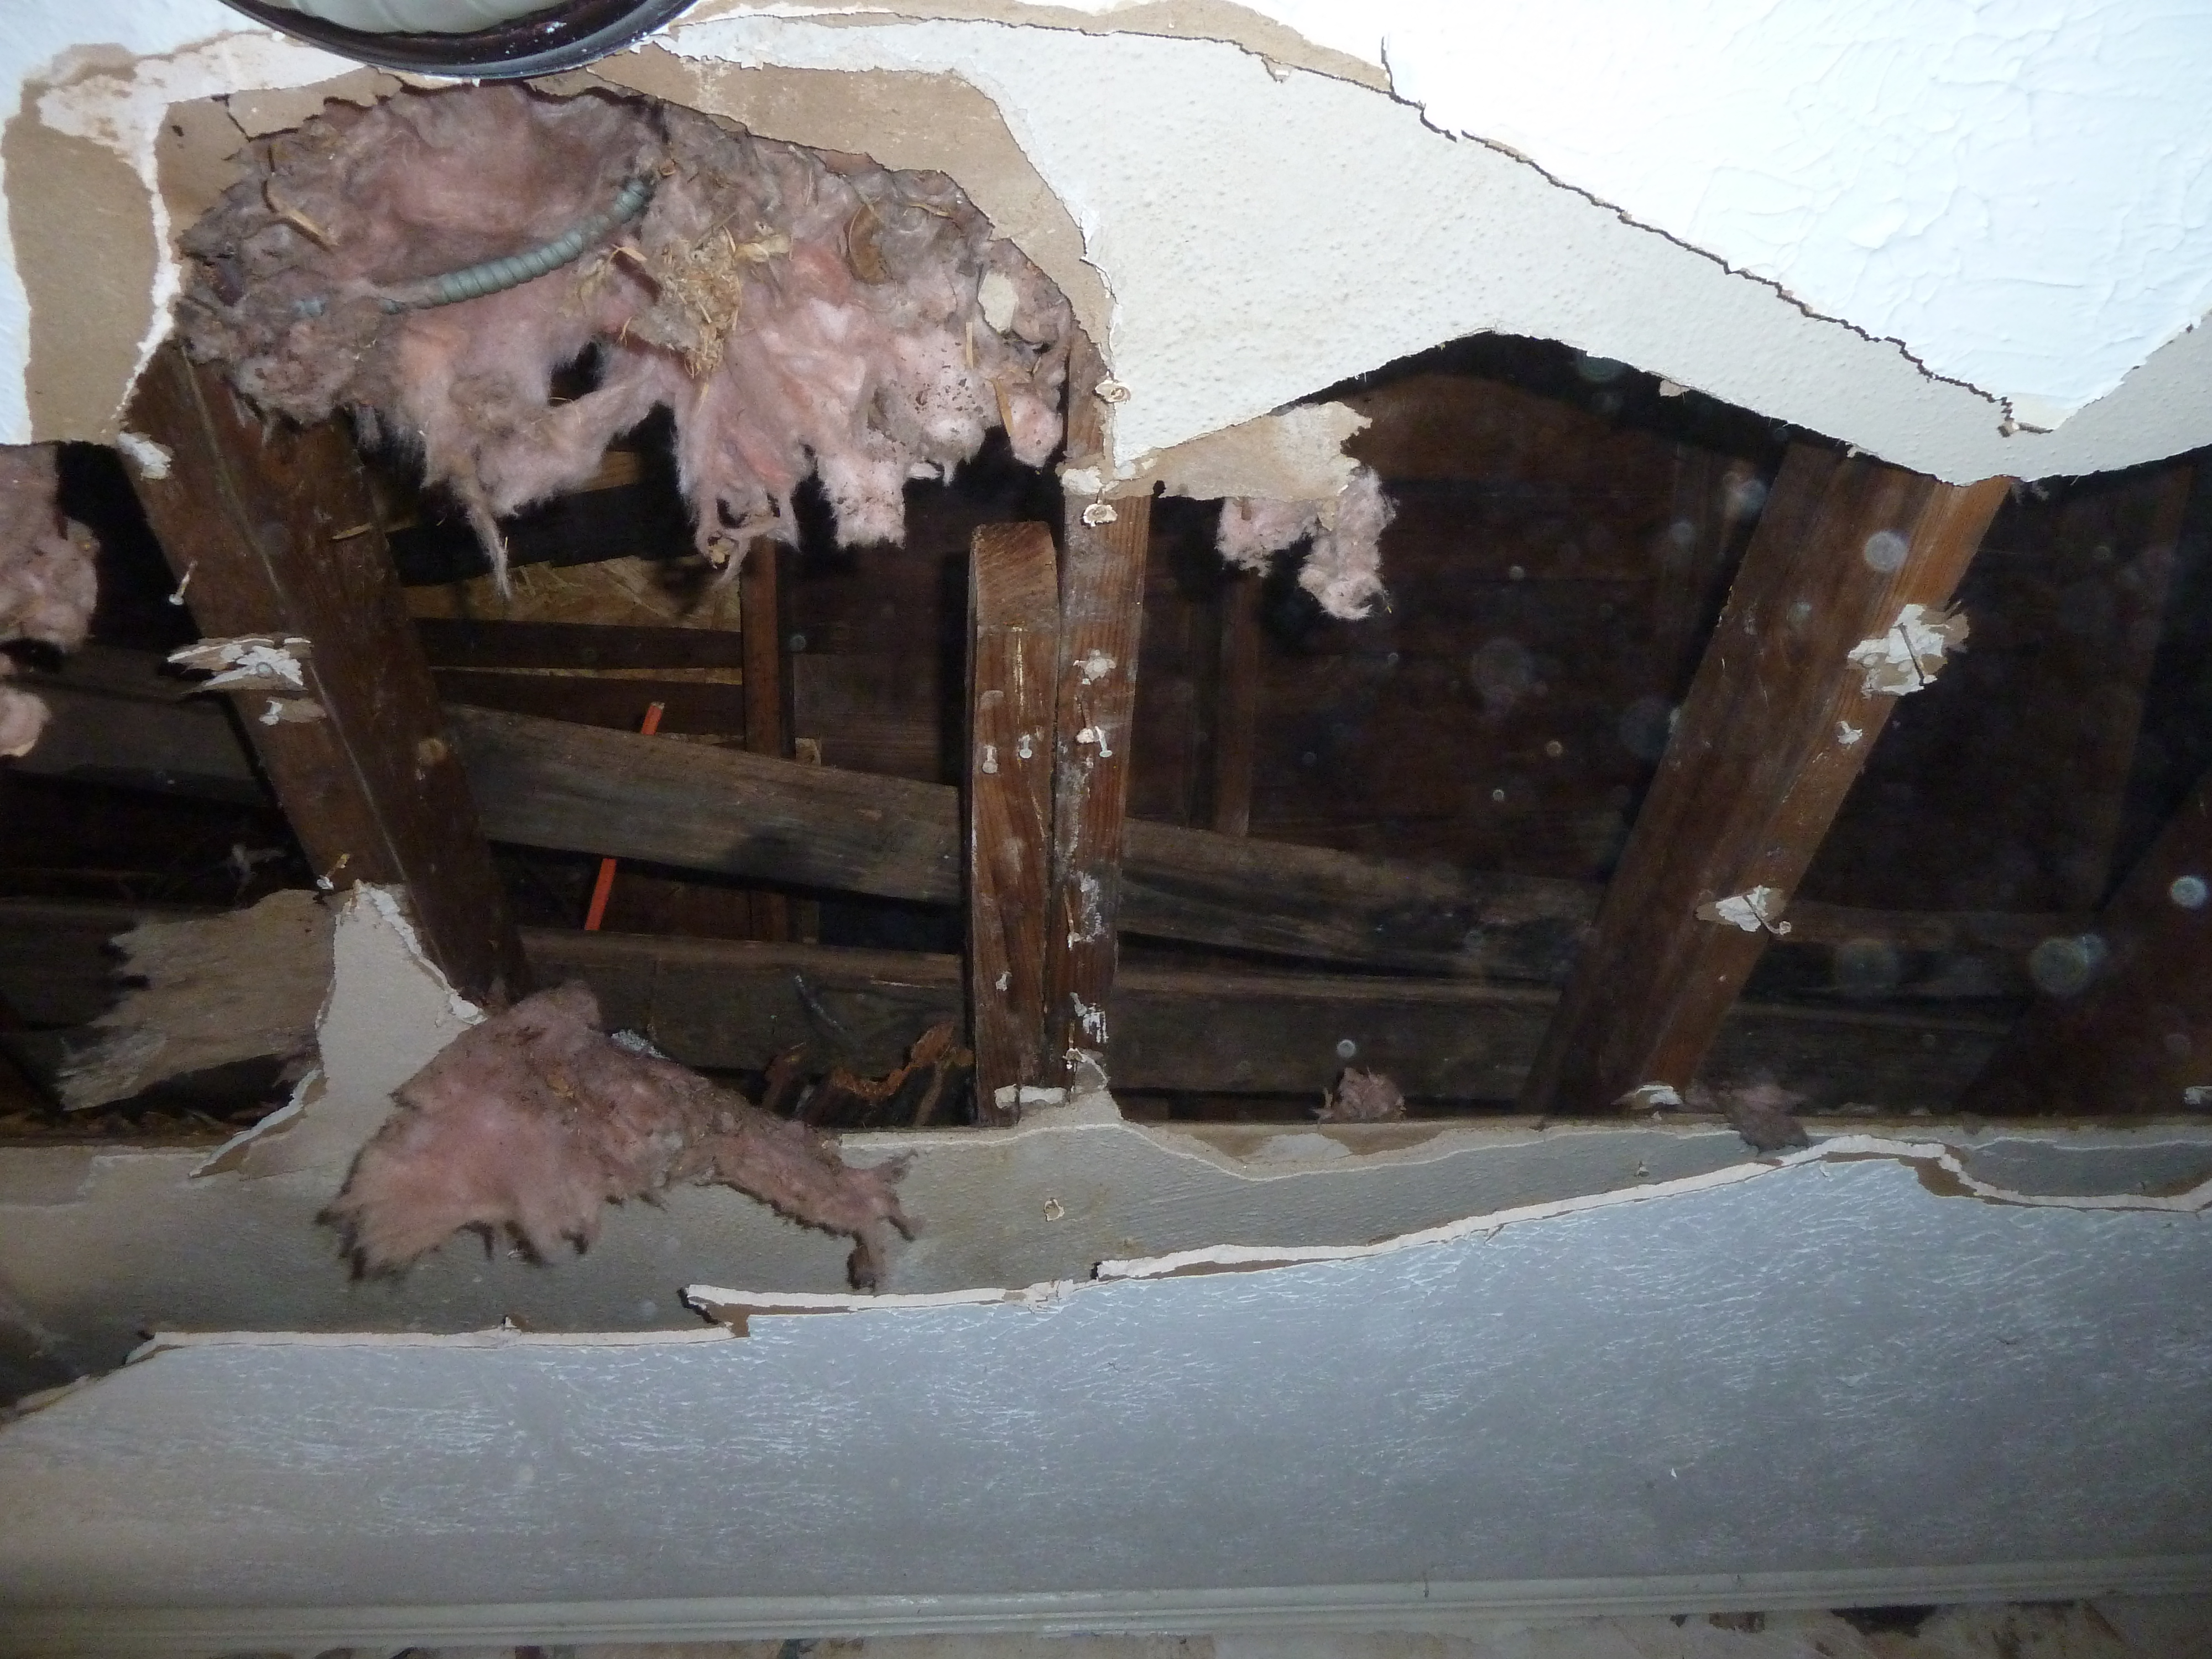
The original plaster board ceilings had been covered with drywall.
Most of the walls also had an extra layer of drywall over the original plaster. The new drywall was installed to cover up damaged plaster. I opted to remove the new drywall because there was significant water damage from the poorly maintained gutters and to better assess any possible structural damage. Once the drywall was removed it was a relatively easy decision to fur-out (construct a wood frame wall in front of the structural brick wall) the walls to accommodate new electrical and insulation.
Here’s the new video from Green Shortz showing the gutting of the home. I can’t thank my friends enough for their help. In the video you see 5 friendly deconstructionists, but 10 people in all helped. Subscribe on YouTube to stay tuned as the renovation continues.

